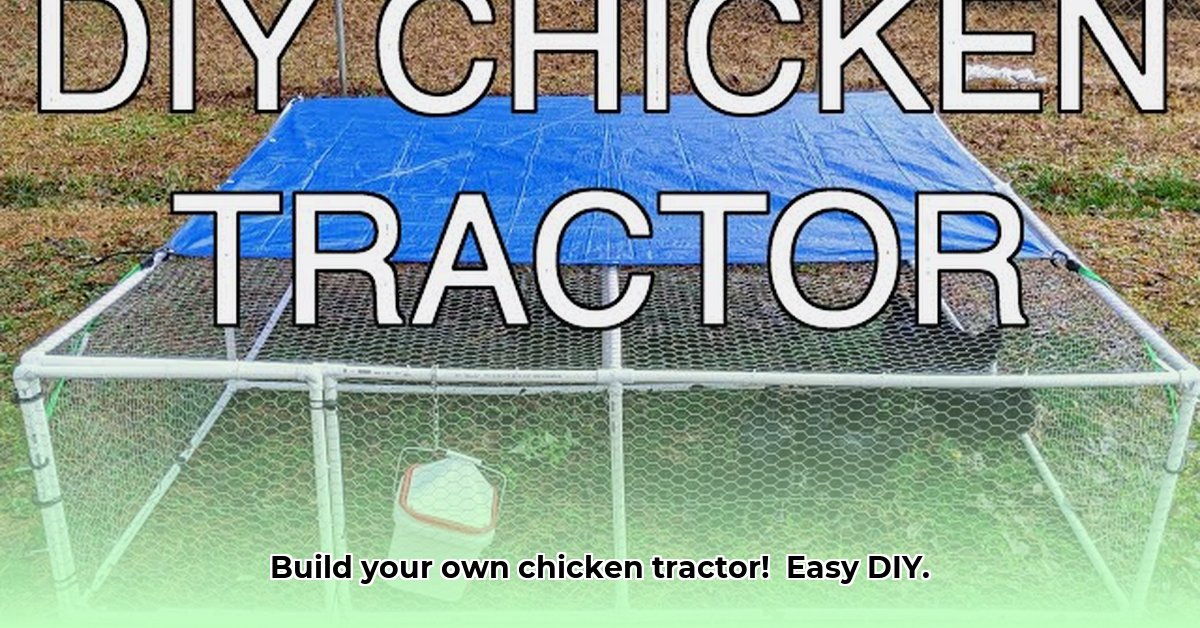
Want a simple, affordable way to give your chickens a fantastic life? Building your own chicken tractor is easier than you think! This guide provides detailed plans for constructing a sturdy, movable coop using readily available PVC pipes. We'll cover everything from gathering supplies to the final touches, ensuring your feathered friends have a happy and healthy home. For another sturdy option, check out these aluminum chicken tractor plans. Let's get started!
What You'll Need: Gathering Your Supplies
Before you begin, gather your materials. This list is for a medium-sized tractor; adjust quantities based on your flock size and desired dimensions. Most supplies are found at hardware stores or online retailers.
| Material | Quantity | Notes |
|---|---|---|
| 1-inch PVC pipe | Varies | Quantity depends on your tractor design (see detailed plans below). |
| PVC connectors | Varies | Elbows, T-connectors, straight connectors – quantity depends on your design. |
| Chicken wire | 1 roll (8ft x 50ft) | Heavy-duty wire is recommended for predator protection. |
| Wood (for base) | 2x4s (approx. 8ft) | Pressure-treated lumber resists rot and insects. |
| Hinges | 2 | Sturdy hinges are crucial for a secure door. |
| Screws | Assortment | Various sizes for wood and PVC. |
| Wire cutters | 1 | For working with chicken wire. |
| Measuring tape | 1 | Accurate measurements are vital! |
Tools Required: Your DIY Arsenal
Gather these essential tools. Remember: safety first!
- Saw: Handsaw or circular saw (for PVC and wood).
- Drill: With assorted drill bits to match your screws.
- Screwdriver: Matching your screw types.
- Hammer: For securing and potentially pounding staples.
- Safety Glasses: Essential eye protection.
- Work Gloves: Protect your hands from splinters and rough edges.
Building Your Chicken Tractor: Step-by-Step Instructions
This guide outlines a rectangular tractor, but feel free to customize!
Step 1: Laying the Foundation – Building the Base
Construct a sturdy rectangular base from 2x4s. This forms the foundation of your chicken tractor. Pre-drilling pilot holes in the wood prevents splitting when screwing it together. A strong, square base is key for stability.
Step 2: The PVC Framework – Shaping Your Tractor
Cut PVC pipes to your planned lengths and connect using fittings, creating a rectangle matching your wooden base's size. Ensure square corners for a well-built frame.
Step 3: Securing the Walls – Attaching the Chicken Wire
Attach chicken wire to the PVC frame securely using wire ties or staples. Ensure no gaps for effective predator and escape prevention. Wire ties offer flexibility, while staples provide strong hold. A tight fit is essential.
Step 4: Access Granted – Adding the Door
Create a door using more PVC pipes and hinges for easy access and cleaning. Ensure a snug fit and a secure latch (a simple hook and eye latch works well). A well-fitting door ensures easy access and containment.
Step 5: Mobility – Adding Wheels (Optional)
Attach wheels to one end of the base for easy movement. Choose wheels that can support the tractor's weight. Caster wheels enhance maneuverability. Moving your tractor simplifies pasture rotation and maintenance.
Step 6: Final Touches – Making it Perfect
Double-check all connections for sturdiness and security. Inspect for weak points or potential escape routes. Tap down staples firmly to prevent loosening. Attention to detail at this stage makes a difference in your tractor's longevity.
Safety First! Important Reminders
- Wear safety glasses and gloves when using tools or sharp materials.
- Exercise caution when using saws and power tools.
- Double-check measurements before cutting.
- Ensure tight PVC connections for a stable frame.
- Regularly inspect for wear and tear.
Customization Ideas - Making it Your Own
Personalize your chicken tractor!
- Size: Adjust dimensions to fit your flock.
- Weather Protection: Add a roof for shade and weather protection.
- Aesthetics: Use different colored PVC pipes to add personality.
- Extras: Include nesting boxes within the tractor.
Troubleshooting – Fixing Common Problems
Solutions to common issues:
- Loose Connections: Tighten loose fittings.
- Wobbly Frame: Ensure a level base and proper support.
- Sagging Wire: Re-tension or reinforce weak points.
Congratulations, You Did It!
You've built your own chicken tractor! This mobile coop provides a safe and enriching environment for your hens, simplifying pasture management. Share photos of your creation! Remember, your chickens' well-being is paramount.
Calculating the Lifecycle Cost of Your DIY PVC Chicken Tractor
Understanding the total cost involves more than just initial material expenses. It's crucial to consider the full lifecycle cost, including:
- Initial Material Costs: The sum of all your materials, like PVC pipes, fittings, chicken wire, etc.
- Labor Costs: The value of your time spent building the tractor.
- Annual Maintenance: Expenses for repairs and part replacements.
- Lifespan: Estimated useful life of the structure (this depends on the quality of materials and construction).
By totaling these factors over the chicken tractor's lifespan, you get the true long-term cost-effectiveness of your DIY project. This careful cost analysis helps evaluate your investment.